Sacramento Collision Repair: A Practical Guide to Quality Auto Body Work
A collision can leave a vehicle looking drivable while concealing bent suspension components, compromised crash structures, damaged wiring, or misaligned safety sensors. The first decision after an accident should therefore be about safe assessment—not simply finding the fastest cosmetic fix.
For Sacramento drivers researching relux collision, the useful question is how a repair facility evaluates damage, communicates with insurers, restores safety systems, and documents the work. A professional assessment should be based on the vehicle itself, not on photographs or visible dents alone.
California roads, summer heat, winter rain, and heavy commuter traffic can expose weaknesses in alignment, sealing, paint, and cooling systems after repairs. A careful process matters as much as the final appearance.
When a Collision Repair Facility Is the Right Starting Point
At the accident scene, move to safety, contact emergency services when necessary, exchange information, and document the vehicles and surroundings. Do not drive a car if airbags deployed, fluids are leaking, a wheel is visibly damaged, steering feels abnormal, warning lights appear, or body panels interfere with tires or doors.
A repair facility may coordinate towing and vehicle recovery. Confirm where the vehicle is being transported, who authorizes the tow, and whether storage charges apply. If the car is already at a tow yard, provide the shop’s details and ask about authorization procedures before additional fees accumulate.
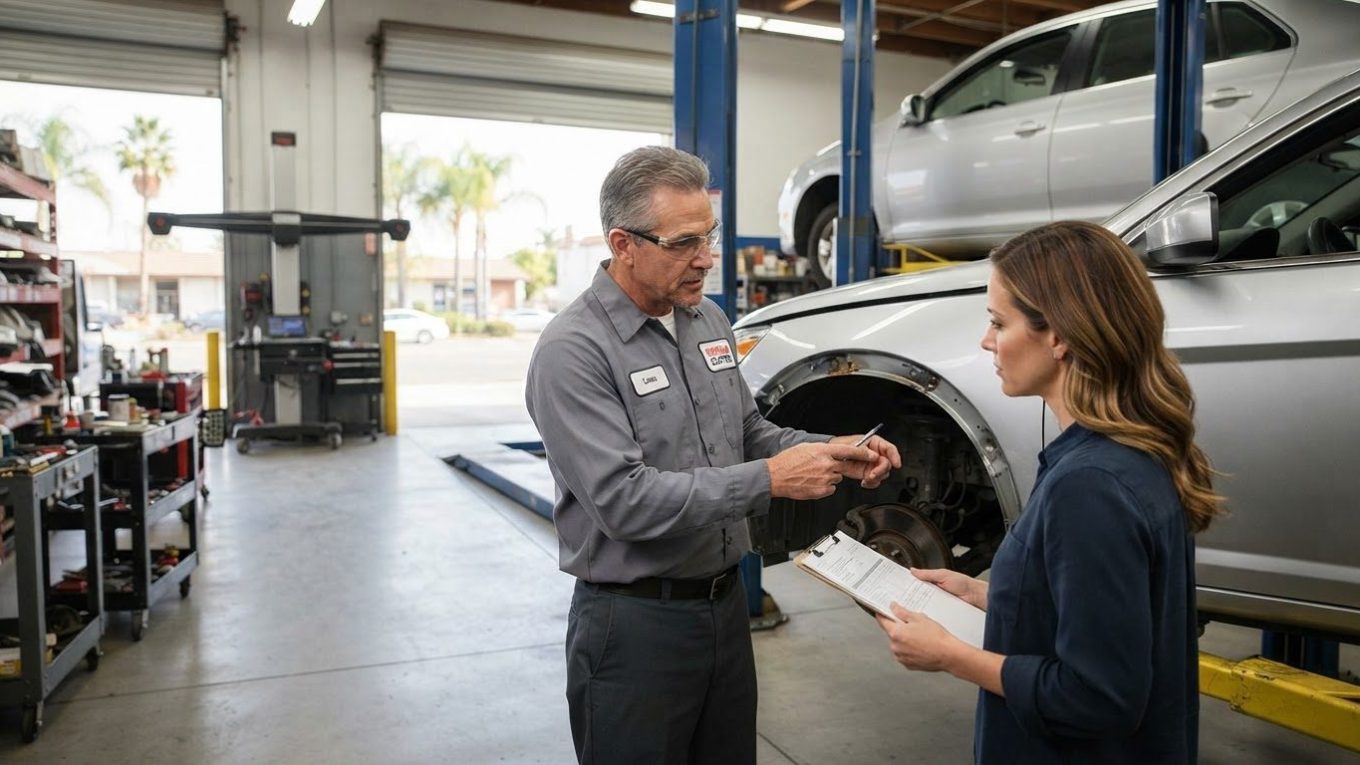
The estimate should begin with an in-person inspection. Technicians may remove damaged trim or panels, measure structural points, inspect suspension and steering, scan electronic systems, and compare findings with manufacturer repair procedures. Visible damage can be only the first layer.
“Repairable” and “total loss” are insurance and valuation decisions, not promises a shop should make before inspection. An insurer generally compares the projected repair cost and salvage value with the vehicle’s actual cash value, subject to California requirements and the policy. Ask for a written explanation if the classification is disputed.
What the Collision Repair Process Involves
A disciplined workflow usually includes:
- Initial inspection, photographs, diagnostic scans, and a preliminary estimate.
- Insurance review, customer authorization, and identification of parts and procedures.
- Disassembly to locate hidden damage and prepare any supplement request.
- Structural, mechanical, electrical, and body repairs according to applicable manufacturer procedures.
- Refinishing, reassembly, system calibration, quality control, and delivery documentation.
Structural work may involve a frame rack, computerized measuring equipment, weld-bonding procedures, sectioning specifications, and corrosion protection. Mechanical checks can include wheel alignment, steering components, brakes, cooling systems, restraint systems, and underbody damage. Cosmetic work—such as dent repair, bumper replacement, or refinishing—is important, but it cannot substitute for safety-related inspection.
Modern vehicles also require electronic diagnostics. A pre-repair scan can identify existing fault codes; a post-repair scan helps verify that systems operate after repairs. Neither scan replaces physical inspection, but together they create a more defensible record.
Paint quality depends on preparation, color measurement, spray-booth controls, blending technique, and clear-coat application. Final quality control should address panel gaps, fasteners, trim, lighting, water seals, and road performance—not just gloss.
Repairs for Different Makes, Models, and Luxury Vehicles
Relux Collision states that it handles all major makes and models, including luxury vehicles, and identifies I-CAR Gold Class and OEM-certified technicians. These credentials are useful indicators of training and process investment, but they do not guarantee that every repair is flawless. Customers should still request vehicle-specific documentation.
Manufacturer repair information matters because aluminum, high-strength steel, carbon-fiber-reinforced materials, adhesives, weld locations, airbag procedures, and sensor mounting tolerances differ by model. Luxury vehicles may also require brand-specific scan tools, programming, specialized refinishing systems, or calibration targets.
I-CAR training reflects collision-repair education and role-specific development. OEM certification typically relates to a manufacturer’s defined training, equipment, and procedural requirements. Ask which technician certifications apply to your vehicle and whether any required programming or calibration is performed in-house or through a qualified partner.
Insurance Claims, Estimates, and Out-of-Pocket Costs
Relux Collision’s website says customers can request an estimate by phone or online and that its team communicates with major insurers and manages claim paperwork. That can reduce administrative work, but the customer should remain involved. Choosing a repair shop is generally different from accepting an insurer’s preferred recommendation; California drivers can ask questions and select the facility they trust.
Request an itemized estimate showing labor categories, parts, paint materials, scans, calibration, sublet work, and taxes. Ask:
- What happens if disassembly reveals additional damage?
- Who submits and approves supplements?
- Are parts OEM, aftermarket, recycled, or reconditioned?
- Is a wheel alignment, diagnostic scan, or ADAS calibration included?
- What rental-car period and transportation arrangements apply?
- What payment remains the customer’s responsibility?
Typical costs vary widely. Minor dent or bumper work may range from roughly $500 to $2,000, while multi-panel repairs commonly reach $2,000 to $6,000 or more. Structural damage, airbags, sensors, luxury finishes, and extensive mechanical work can push repairs above $10,000. Labor rates and parts pricing differ substantially across Sacramento facilities, so a low initial estimate is not necessarily the lowest final cost.
The website advertises deductible assistance of up to $1,000 and a discount of up to 10%. Treat these as offers requiring confirmation, not guaranteed savings. Ask about eligibility, limits, insurer restrictions, documentation, and whether the offer applies to every repair.
How to Verify the Repair Before Taking Your Vehicle Home
Schedule pickup during daylight when possible. Use this checklist:
- Review the final invoice, repair summary, parts information, supplements, and warranty terms.
- Request pre- and post-repair diagnostic scan records where applicable.
- Confirm that airbags, seat-belt pretensioners, restraint modules, and related fault codes were addressed.
- Ask whether cameras, lane-assistance systems, parking sensors, blind-spot monitoring, and adaptive cruise control were calibrated.
- Inspect panel gaps, bumper alignment, paint color, clear-coat texture, trim fit, lights, mirrors, glass, and door operation.
- Look for overspray, tape lines, sanding marks, dust nibs, chipped edges, or inconsistent gloss.
Calibration may be required after bumper, windshield, suspension, steering, or structural work. Ask for a calibration report identifying the system, procedure, equipment, and result. A dashboard with no warning lights is not proof that every sensor is correctly aimed.
During a reasonable test drive, check that the steering wheel is centered and the vehicle tracks straight. Note braking feel, vibration, pulling, suspension noise, tire contact, wind noise, and water leaks. Test windows, locks, lights, cameras, parking sensors, climate controls, and infotainment functions affected by the collision.
If a warning light, unusual sound, paint defect, leak, or driving problem appears after delivery, photograph or record it and contact the facility promptly. Avoid authorizing unrelated repairs until the collision shop has inspected the concern.
Repair Protection and Questions to Ask
Relux Collision states that it offers a comprehensive lifetime warranty on repairs for as long as the customer owns the vehicle. The practical value depends on the written terms. Review whether coverage applies to workmanship, paint, corrosion, replacement parts, geographic limits, ownership transfer, excluded wear, prior damage, and claims-handling procedures.
Before authorizing work, ask:
- Which parts are OEM, aftermarket, recycled, or reconditioned, and why?
- Were manufacturer repair procedures used for structural and restraint-system work?
- How was corrosion protection restored after cutting, welding, or panel replacement?
- Who performs scans, programming, wheel alignment, and ADAS calibration?
- How are workmanship concerns or supplements handled after pickup?
- Which contact manages an unresolved insurance approval or payment dispute?
A sound decision should rest on six points:
- Clear, itemized estimate.
- Documented insurance communication.
- Appropriate parts and repair procedures.
- Pre- and post-repair diagnostic records.
- Verified ADAS calibration and final road test.
- Written warranty coverage with understandable exclusions.
The best collision outcome is not merely a straight panel and matching paint. It is a documented restoration of structure, mechanical function, electronic systems, and everyday driving behavior.